|
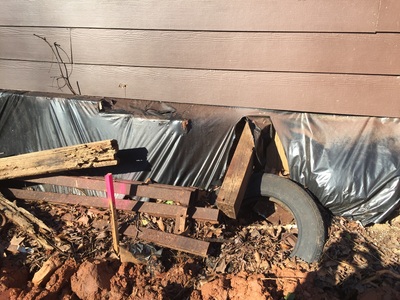
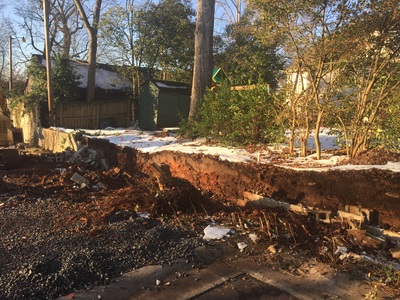
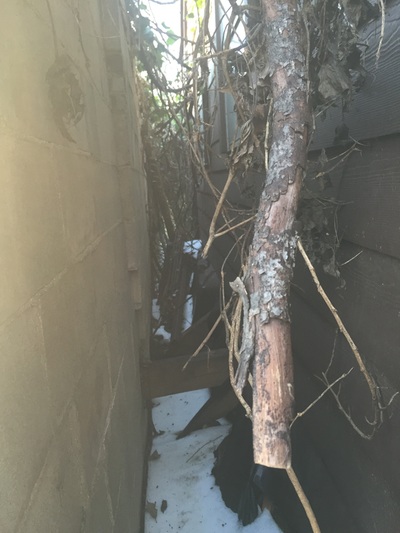
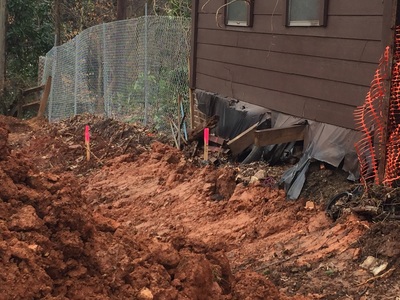
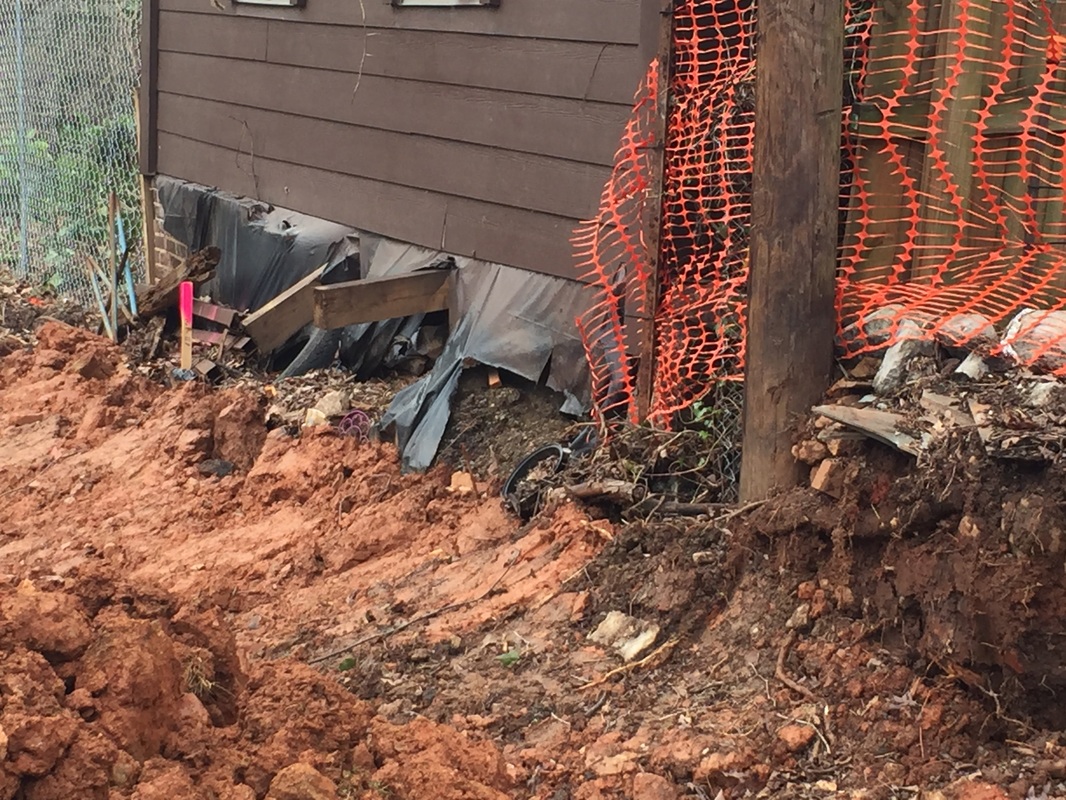
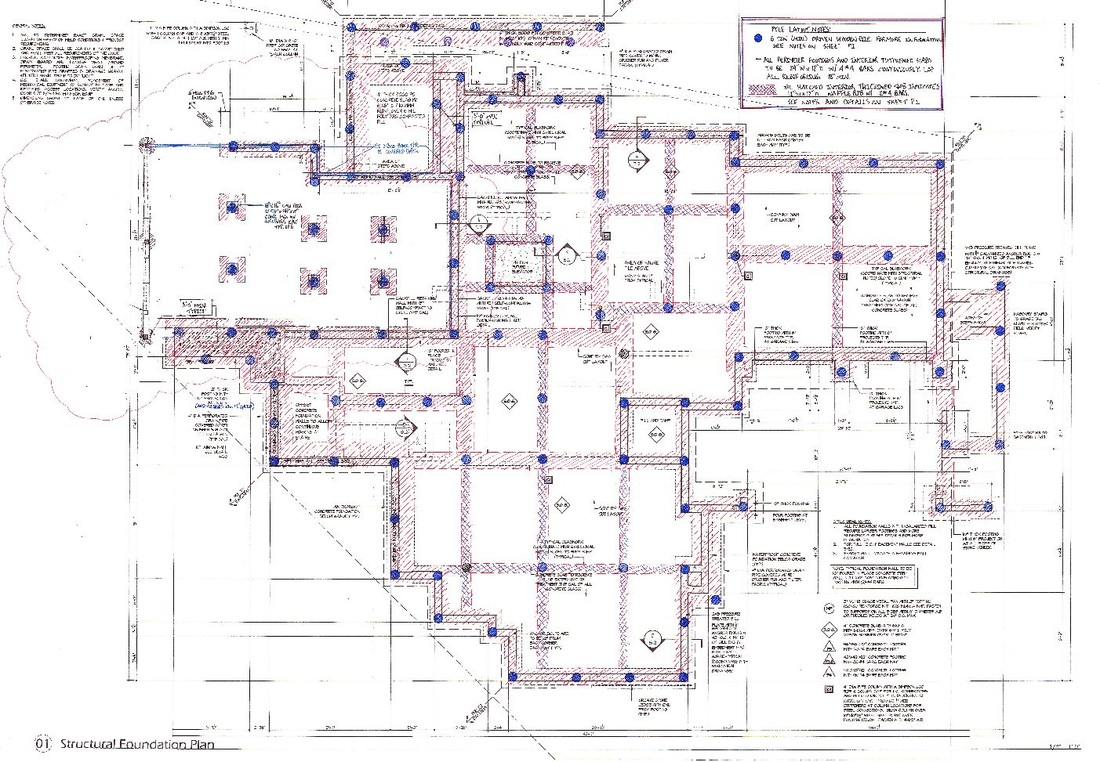
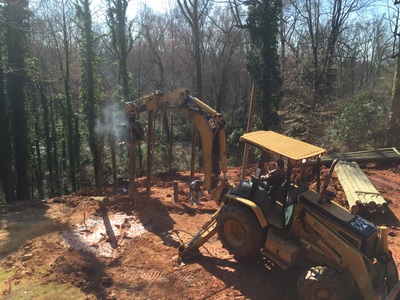
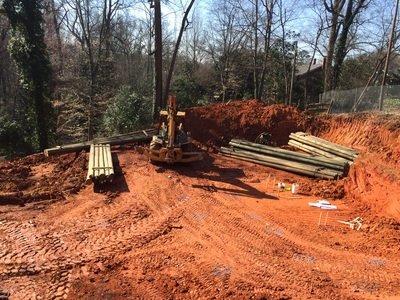
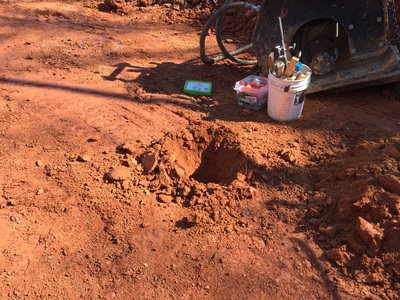
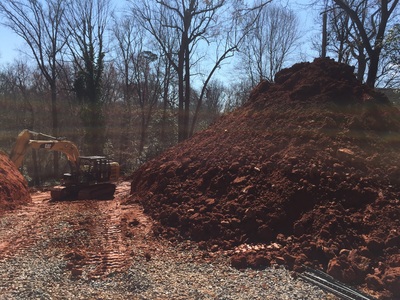
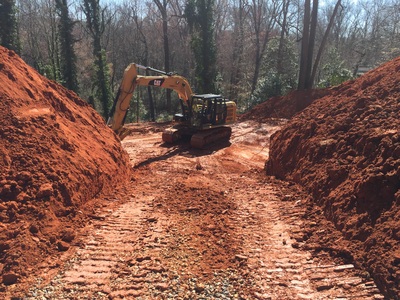
Greetings everyone! This is the second blog entry regarding the infill custom home that we are working on. We were hoping that this blog would have covered the project further on in its process, however, we have uncovered some more surprises that set us back in our project schedule and we felt that they would be very educational to share with everyone. As the block wall was being removed along our clients property line (the wall is just inside of our clients property) we noticed that one of the neighbors detached garage has a failing foundation wall and slab. This garage is very close to the property line. Portions of this garage were braced back to the block wall being removed. We have some photos below showing this below. We determined that the braces were not under pressure and that we would continue with removing the wall. We are not sure if the braces were installed to shore up the garage foundation or if they were installed to shore up the wall from falling back towards the garage. The wall was leaning the direction of the garage so it’s anyone’s guess, however the fact that the braces were installed lower on the wall leads us to think they were installed to shore up the garage foundation. To make matters worse, our project has footing and foundation work that needs to be done within several feet of this garage. One of the pictures below shows the orange surveying stake indicating this location and how close it is. This work is to be for trash and recycling storage area as well as a wall designed to screen the neighbor’s garage from our clients view. Needless to say this made us very nervous. We contacted the project architect and requested a site meeting to discuss our options. The project architect met us on site and agreed with our hesitation. We have agreed to pause on this work as it is not connected to the house so that we can look at some other options that we may be able to do that would not impact the neighbors garage. Another very big surprise was once we started excavation of the basement we realized that we were working on and in non-compacted fill dirt. Fill dirt is dirt that has been placed on a lot. When placing dirt it can be placed in lifts and compacted. This would be considered structural fill. It can also be just dumped and spread out where it is not suitable to build a building on and is considered non-structural. The latter is what we have which means that the dirt can’t support the footings and the basement concrete slab. If the dirt had been compacted in lifts there is a very good chance that this wouldn’t be the case. At our site meeting with the project architect we discussed the soil issues with our grading contractor and a geotechnical soil engineer. It was decided that the best way to move forward would be for the structural engineer to design a woodpile system to support the house. These woodpiles are driven into the ground where the structural engineer has indicated on the structural pile layout. They are round and tapered with the more narrow end being driven into the ground first. The pile-driving contractor will drive each pile to a depth that gives us the appropriate amount of bearing capacity that the engineer has specified. This depth can be anywhere from 4 feet to 30 feet deep to attain the necessary bearing. The structural engineer also revised the footing detail and concrete basement slab detail. The footings are required to be wider and have more steel rebar in them. The Basement concrete slab is now designed to support itself structurally, so it can be placed on top of the existing dirt that is non-structural. This type of slab is typically called a “waffle slab”. It’s referred as a waffle slab because the slab is engineered in square patterns with steel rebar’s that work together to strengthen it. This can also be seen in the engineer’s layout. We have included the pile layout below that the structural engineer has designed for everyone to look at. This same layout also shows the basement slab waffle rebar structural grid. The round circles that are colored in solid on the layout indicate where we are to drive the piles. One of the biggest issues with building on infill sites is the general lack of space. Our project is certainly no exception. This house is the last one to be built on the street. On top of this it is at the end of a cul-de-sac. We have the neighbor’s driveways and houses on top of one another. This particular house has been designed so close to the side yard setbacks that by the time we excavated for the basement and provided the necessary three-foot over dig around the perimeter so that we can safely work we are basically on top of the property line. This doesn’t allow us to stockpile any of the excavation dirt on the sides of the property. We have had to stockpile it in the back and in the front. Because we won’t have access to work around the sides of the house we have built a ramp down into the basement for access. As we work our way out of the basement we will remove the ramp. We have some pictures below of all the dirt as well as the ramp that we built. Below you will see a video of the pile driving process. The pile-driving contractor will mark on the ground where the piles are to be driven per the layout that the structural engineer has designed. The pile-driving contractor then drills a hole in the dirt approximately four to six feet deep using an auger attachment. This “pilot hole’’ is drilled so that they can stand up the pile in the hole and balance the pile. This is very important because most of the piles that come to the job site are 25 feet in length. Once the pole is the pilot hole they will straighten the pile and start driving it down. This particular pile-driving contractor that we use has a hydraulic attachment on their backhoe that drives and vibrates the pile down into place. Other contractors use a crane system that drops a very heavy weight down onto the pile to drive it into place. This particular method causes vibration a good distance away from the jobsite and can create some very unhappy neighbors, not to mention it’s much nosier than using the hydraulic system. Here are some additional pictures from this phase of the project:
2 Comments
9/21/2017 11:48:07 pm
Very helpful and useful home builder charlotte services.
Reply
Leave a Reply. |
About JasonWith over 25 years of home building experience, Jason Barwick has earned the reputation as an extremely knowledgeable builder in the Carolinas. Categories |
|
Member of the National Association of Home Builders
Member of Home Builders Association of Charlotte Certified Green Professional Designation Custom Builder for the McLean Community Copyright 2020 • J Barwick Construction • Phone: 704-201-7696
|



 RSS Feed


